Follow my progress while doing the 1/2 Mask Project!
To first figure out what I want to have the mask look like I must first figure out two things. One, what does something Cirque inspired look like? Two, what is A Company of Wayward Saints about?
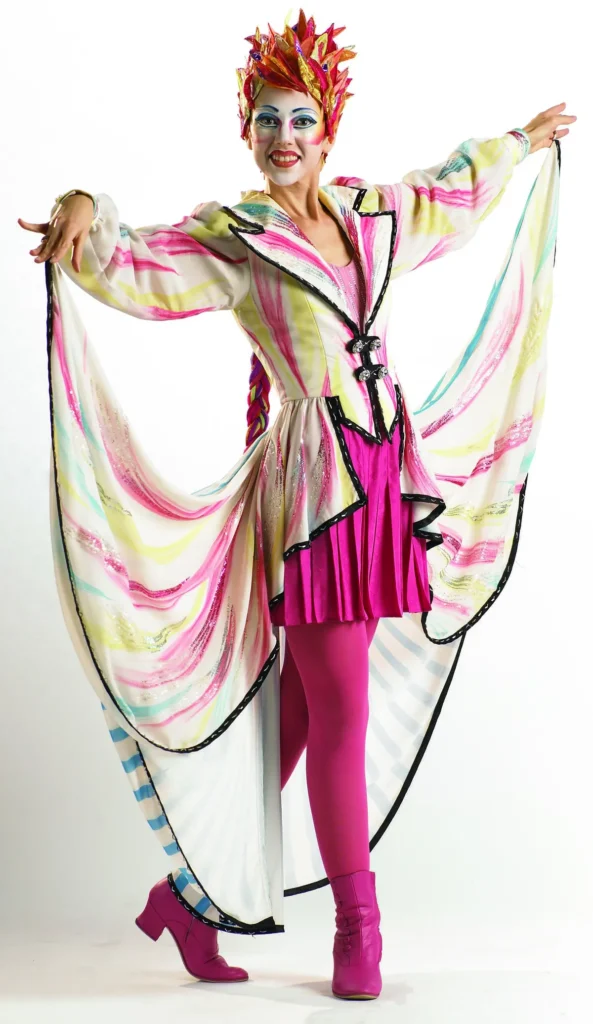
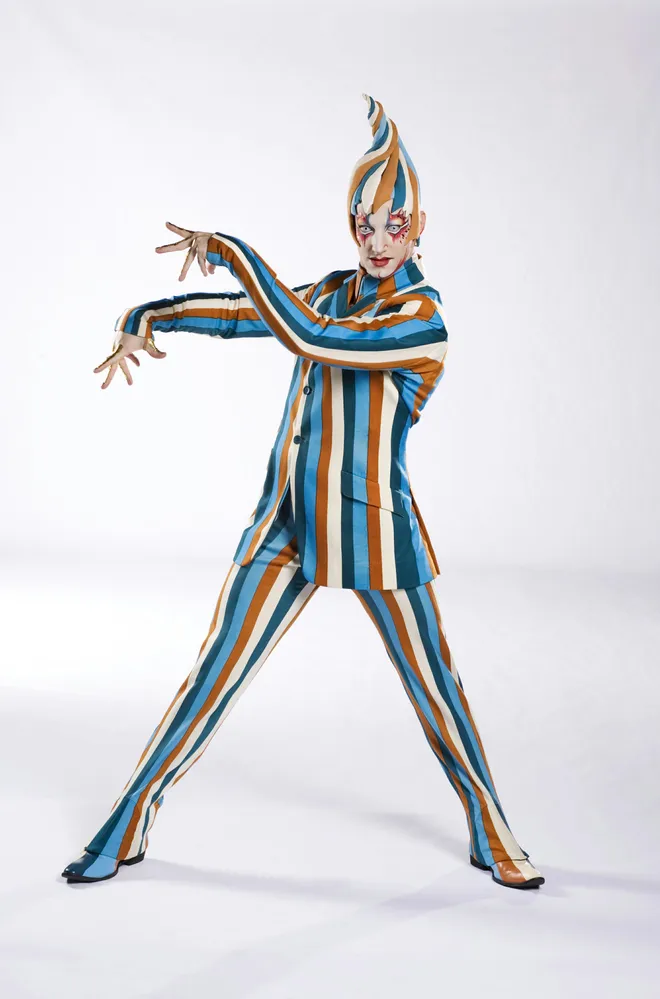
To answer the first question I looked up Cirque and found many images to take inspiration from for the color designs of the mask. Below are the makeup looks I found that I, after researching A Company of Wayward Saints more, felt had aspects that fit the character.
To research A Company of Wayward Saints I first tried to find a playbook to read the script, and it was difficult to find any free scripts. However, I found a recording of a production of the play on YouTube and watched it to learn about the source material. Here is the link to the production I watched on YouTube,
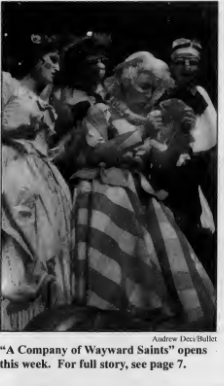
In an attempt to find more about the play I checked the UMW Library, the only source I could find was an honors thesis called “Costuming crafts : craft designs for Godspell and A company of wayward saints.” The librarians and I attempted to find it, but due to reshelving efforts in the special archives being underway they were unable to find the thesis at the time. We did find an old UMW News article that mentions UMW’s production of A Company of Wayward Saints and included a photo!.
The concept states it wants historical elements incorporated in with cirque, so researching the historical elements was also a consideration while searching.
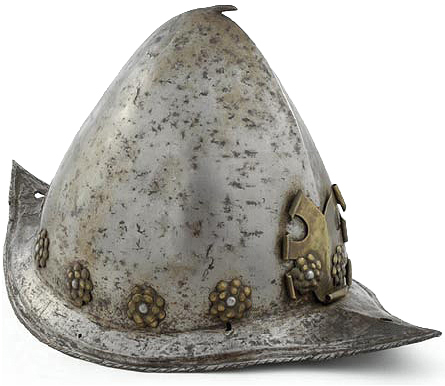
Next, I decided to focus more-so on information I gained from the play itself. What character traits does Capitano portray? He’s very proud, the warrior archetype, and he mentions he’s from Spain. Proud can be portrayed by doing big designs.
I leaned more into the warrior and Spain angles of his character for now and found this one helmet, a Spanish Morion helmet and I really like the texture of those flowers.
I also looked in to carnival masks, a festival in Spain, to find any lines, shapes, or textures I could take inspiration from. I found this article about festivals in Spain, which had some interesting mask images attached to it. Some of the elements of those masks might be useful later.
I ended my research there, with a solid idea of some different ideas I could take inspiration from for my final mask.
In the design I wanted to incorporate some of the good shapes and textures I found, without going overboard on the Cirque inspiration. Finding the balance was difficult and I was unsure on if I should do the white face or skin color. I also worried the white with the stage lights would be blinding, as the masks get very shiny. I want the nose to be relatively long, likely 3-4 inches longer than normal nose, with a rounded spherical tip. The mustache and eyebrows will be hard, and the cheeks will be raised at 3D. Below is the speed paint of my design process with the final version as the default image.
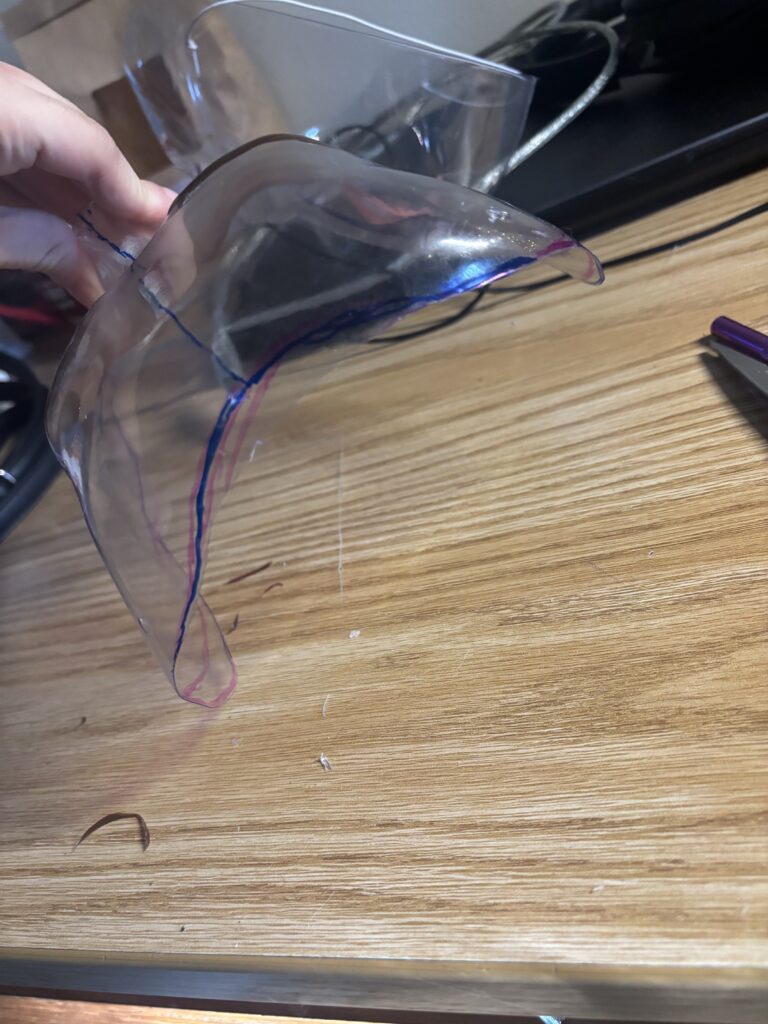
The start of the cutting process to get the mask into the desired shape! I trimmed the area around the forehead, sides, and inside the eyes, as well as cutting off the entire jaw section and underneath the nose.

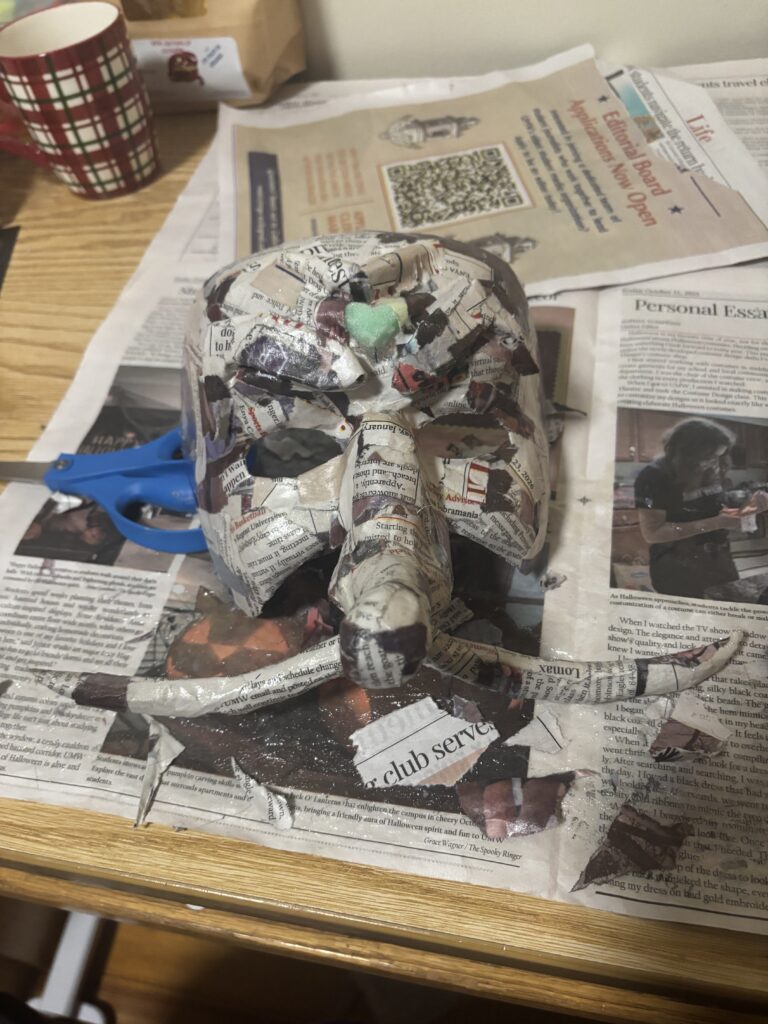
I started carving the forehead wrinkles and eyebrows out of foam, I carved the nose last to get a better sense of how big I wanted it in relation to the other parts. I was unable to place the eyebrows exactly where they were in the design due to the preexisting structure of the mask.

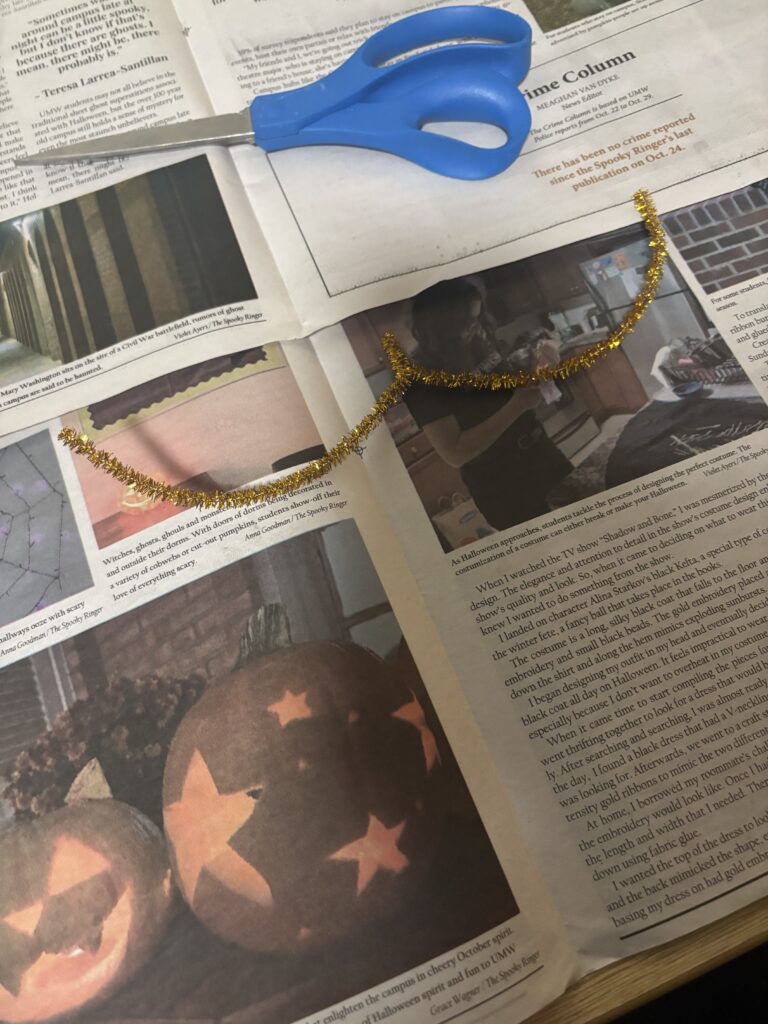
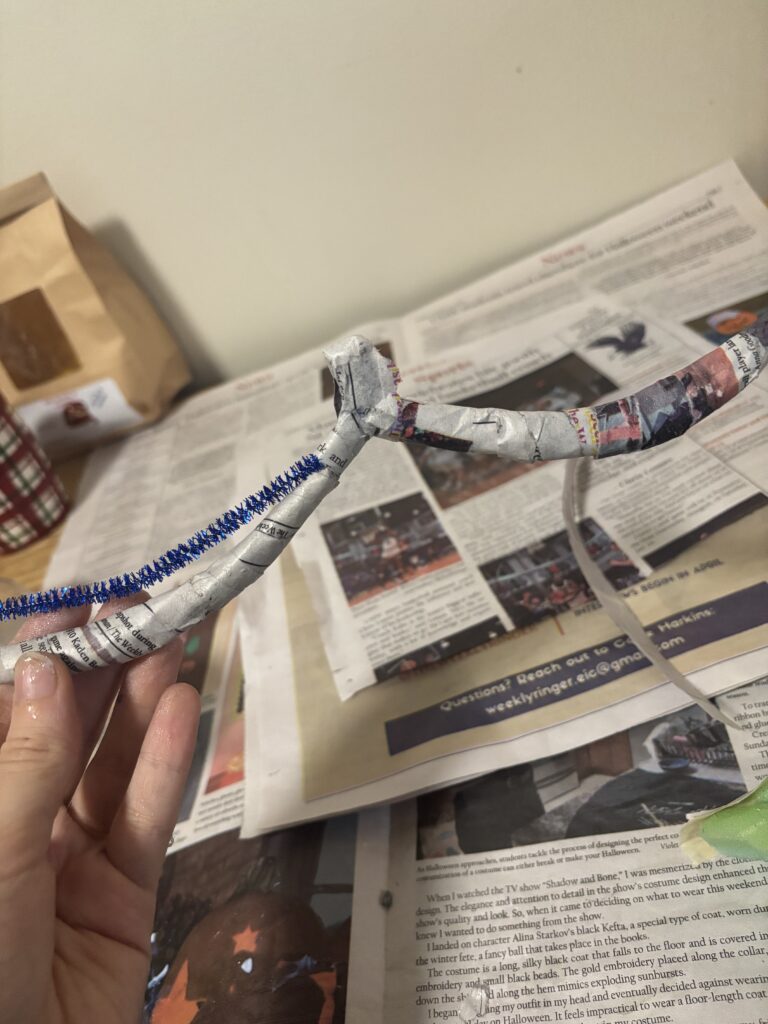
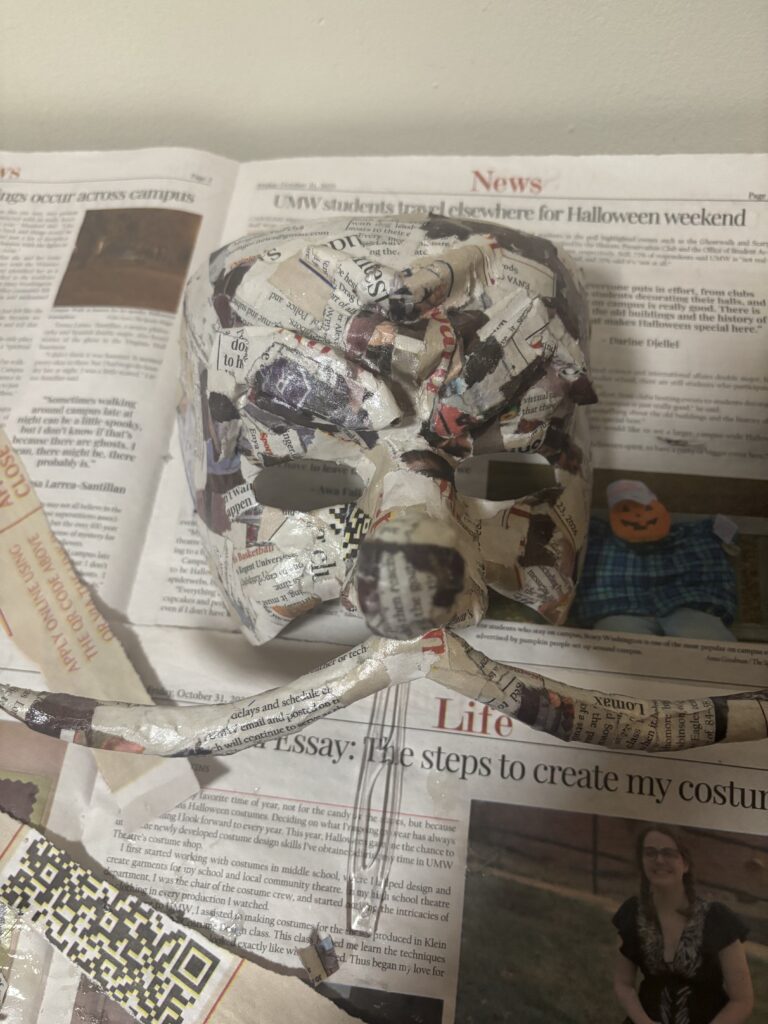
I made the mustache with two pipe cleaners and papermache, I used a broken part of a popsicle stick to have a sturdy section to attach into the foam. I paid extra attention to ensuring each half was around the same size.
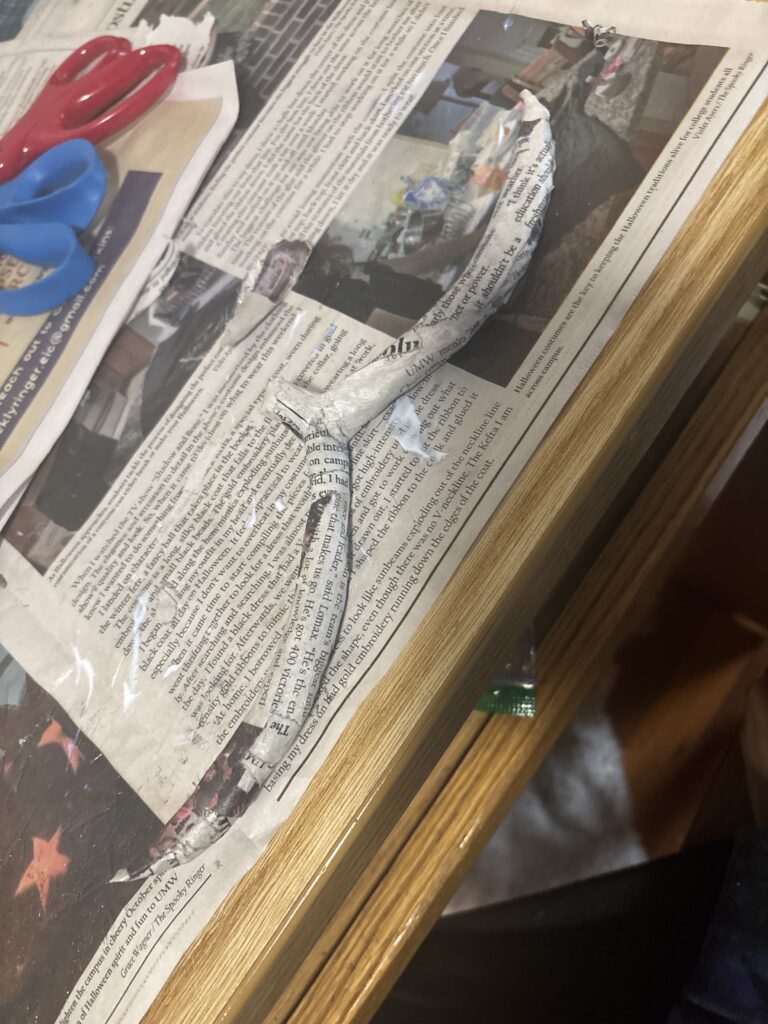
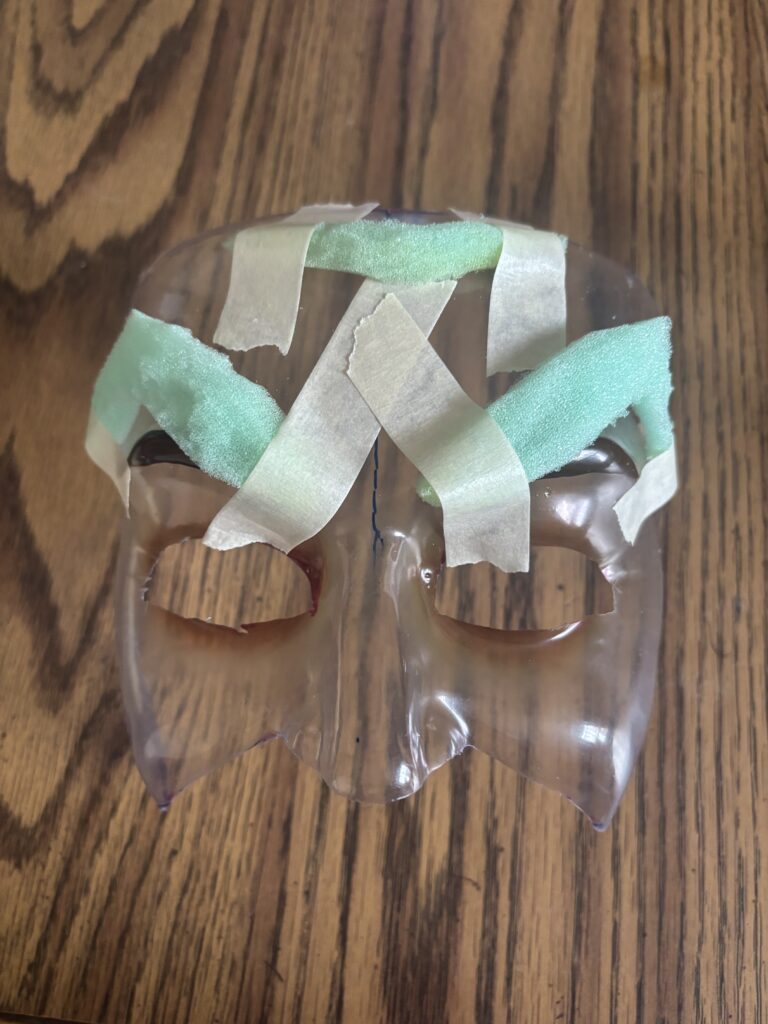
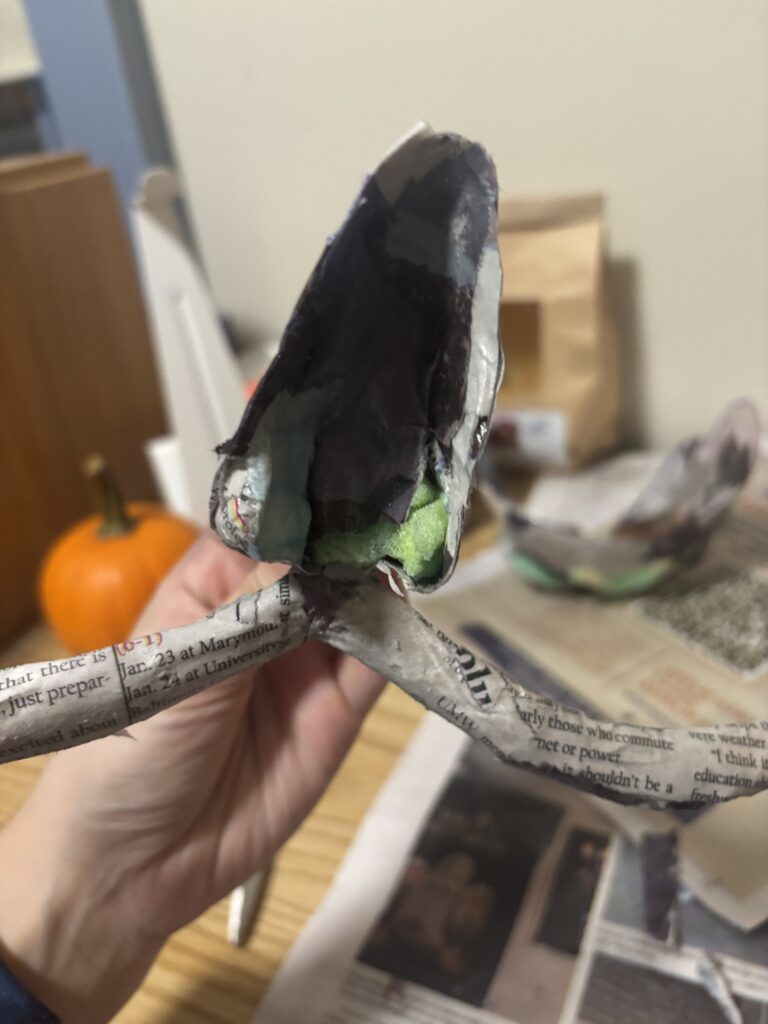
I stuck the mustache into the foam, cutting the foam and then using Sculpt or Coat to secure it once inside. I then began paper macheing the nose and front of the mask. I separately put some pieces on the eyebrows for stability before attaching them to the mask.
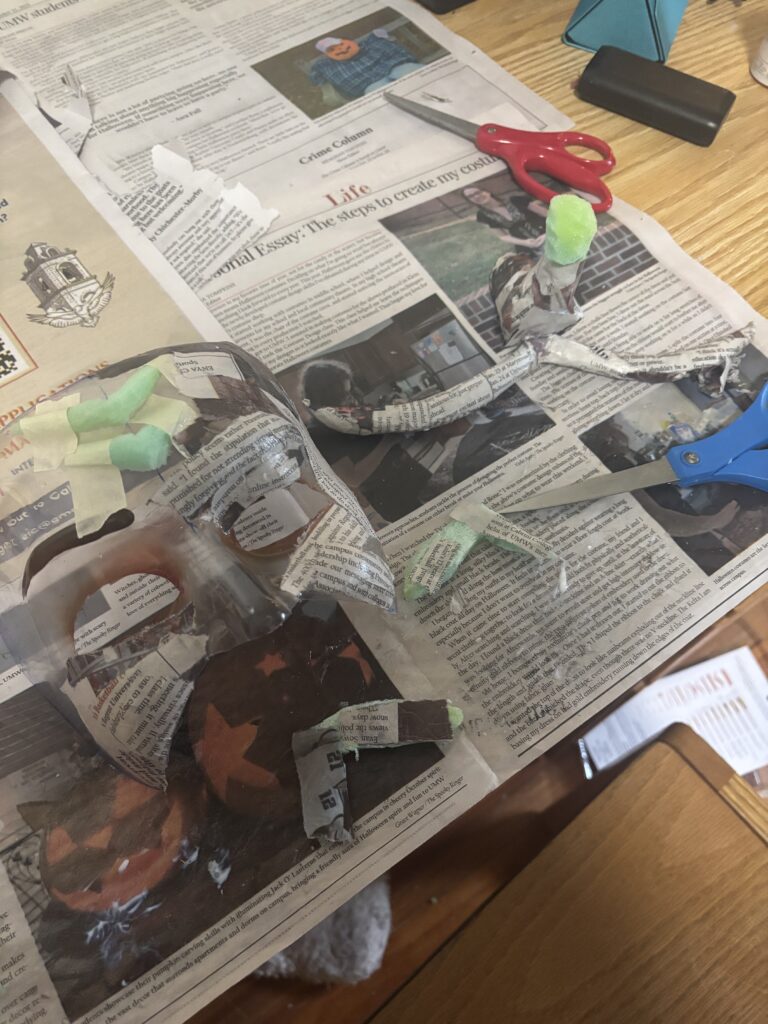
I realized I misshaped the nose so it stuck out weird when places on the mask once hard, so I cut the nose off the mask and carved out the inside of the nose I created. I’d sculpted it in pieces so it was easy to pull out the front section. I already wasn’t thrilled with the shape and comfort of the plastic mask’s nose.
This version of the nose didn’t allow me to breathe, but as the mustache was attached into the near section I had to rip apart the existing paper mache and remove some areas.
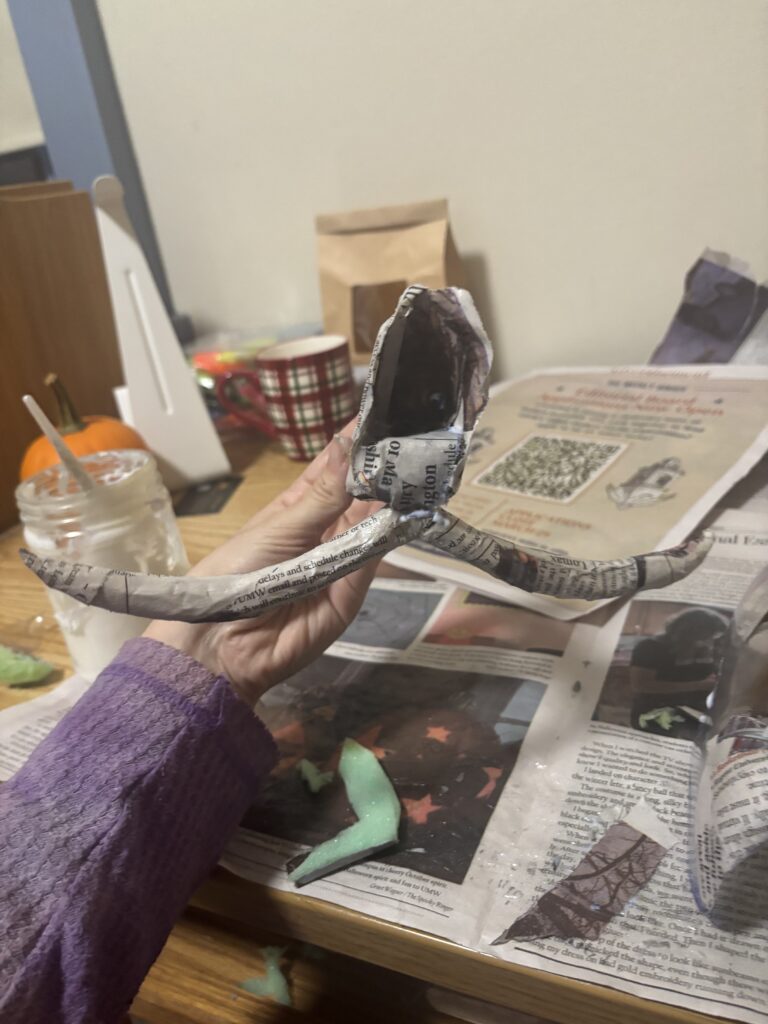
The final inside of the nose before finishing the paper mache. I really like the fit of it, with room for the felt on the inside.
I now had to attach the nose to the rest of the mask. I likely should have sculpted the nose on the mask more, as it would have saved me both a great amount of effort in remaking the nose and attaching it. I’ve definitely learned that for the next time I make a mask.
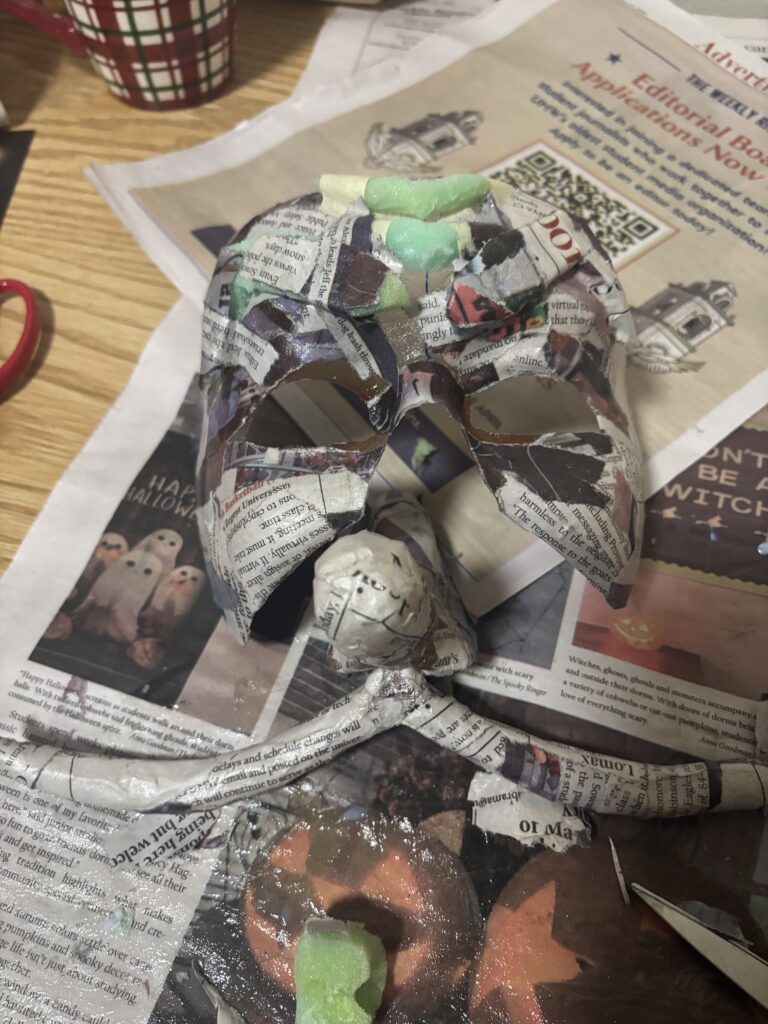
I continued to paper mache the mask while the nose attachments dried, and the nose was far too low. It looked wrong and impeded talking and facial expressions.
So I once again cut off the nose and reattached it higher!
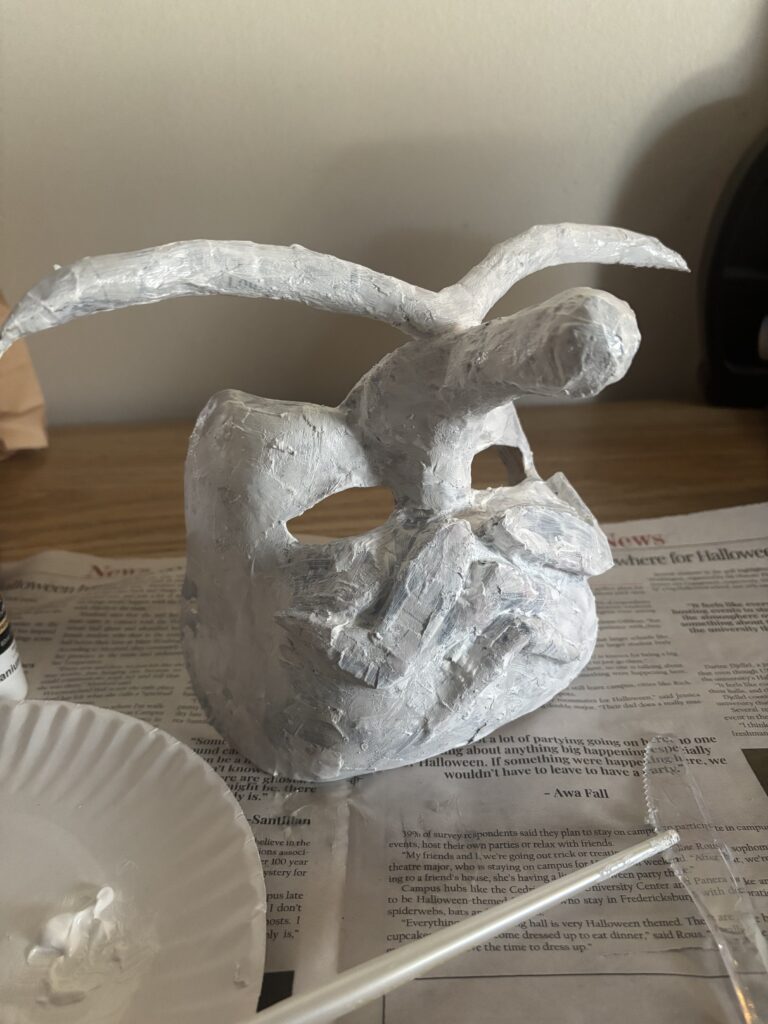
The mask (almost) fully paper mached with the final version of the nose and mustache placement.
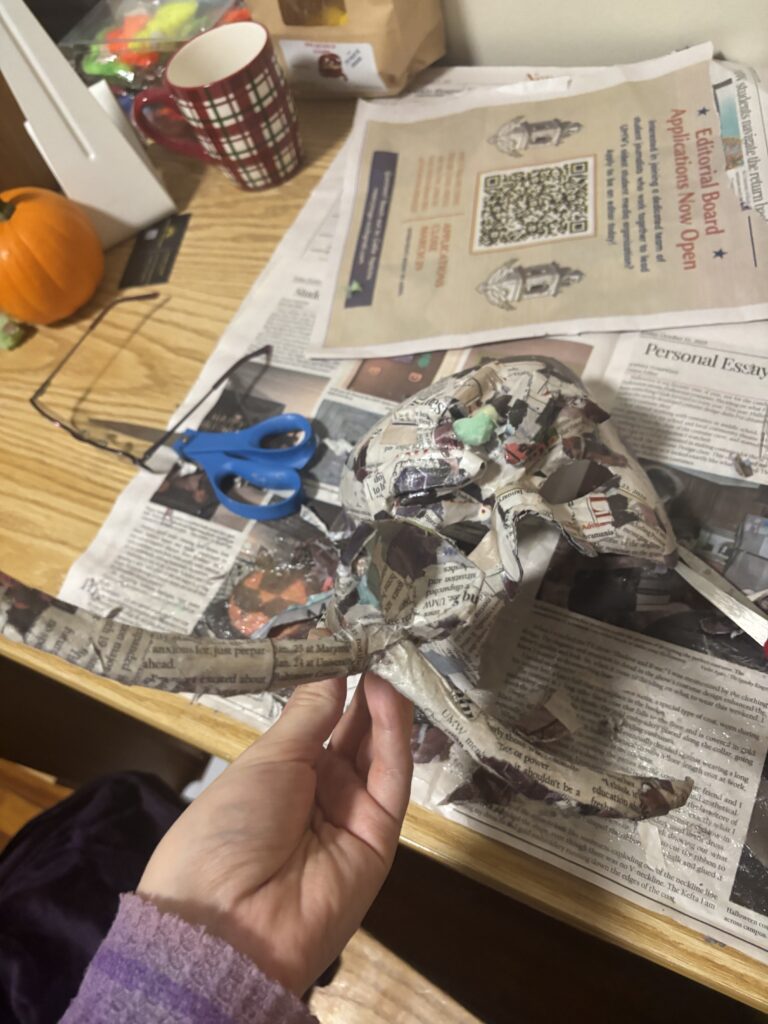
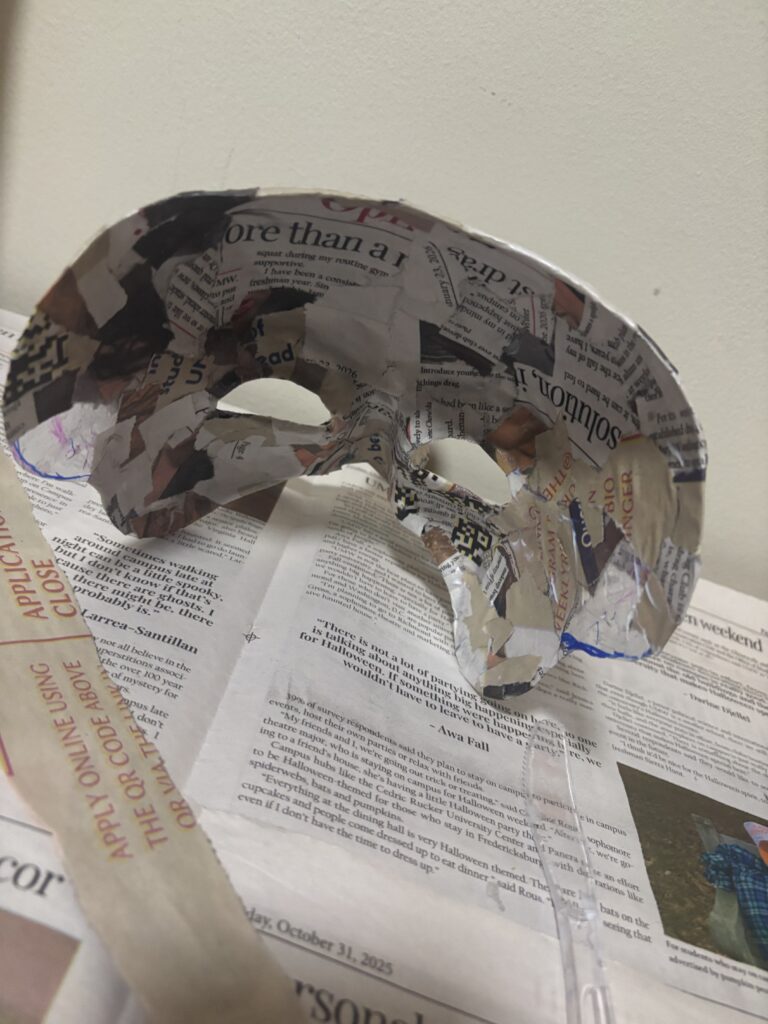
The inside of the mask (almost) fully paper mached.
I hole punched the sides, finished paper macheing it, and painted it white to have a more even colored base for my skin tone.
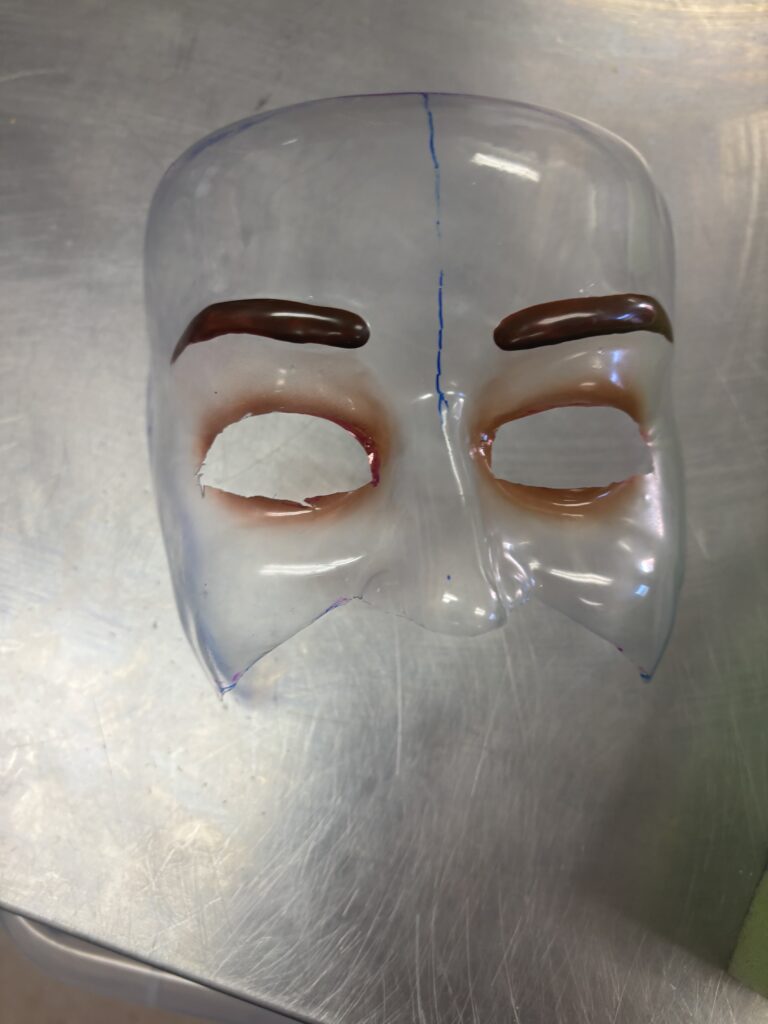
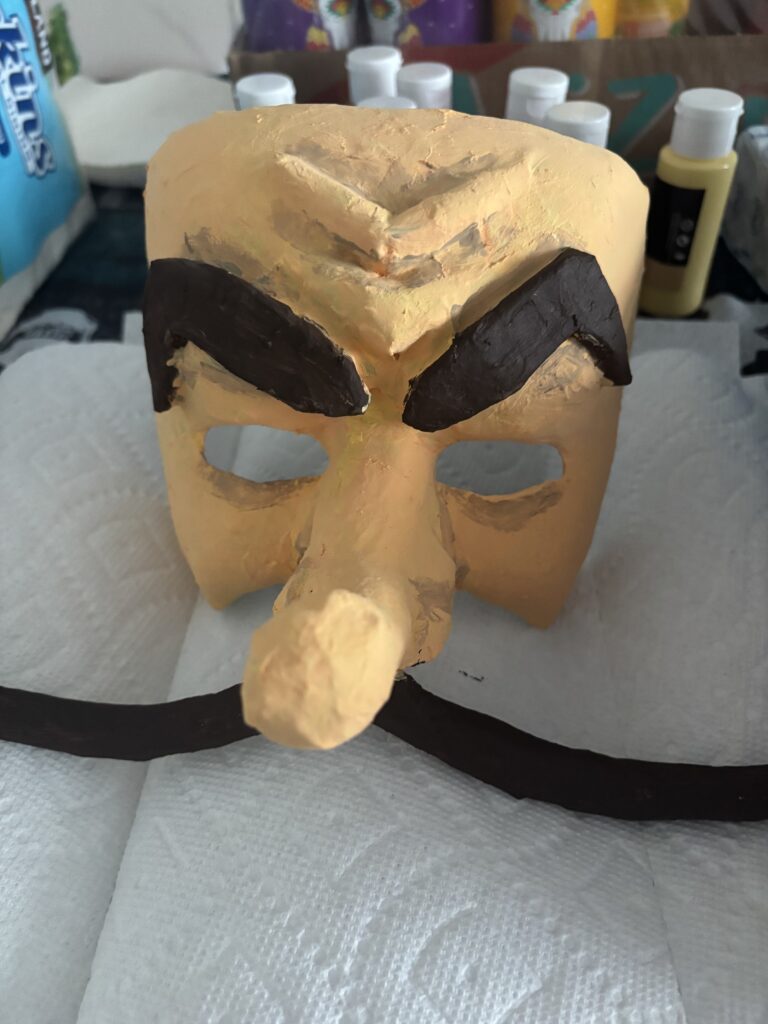
I started painting the skin tone and hair, adding some shadows too add depth to the mask.
I put the finishing touches on paint wise of the cirque colors and blending in the shadows, there was an unfortunate car incident and the nose was crushed so some repair work was also done.

I then felted the inside.
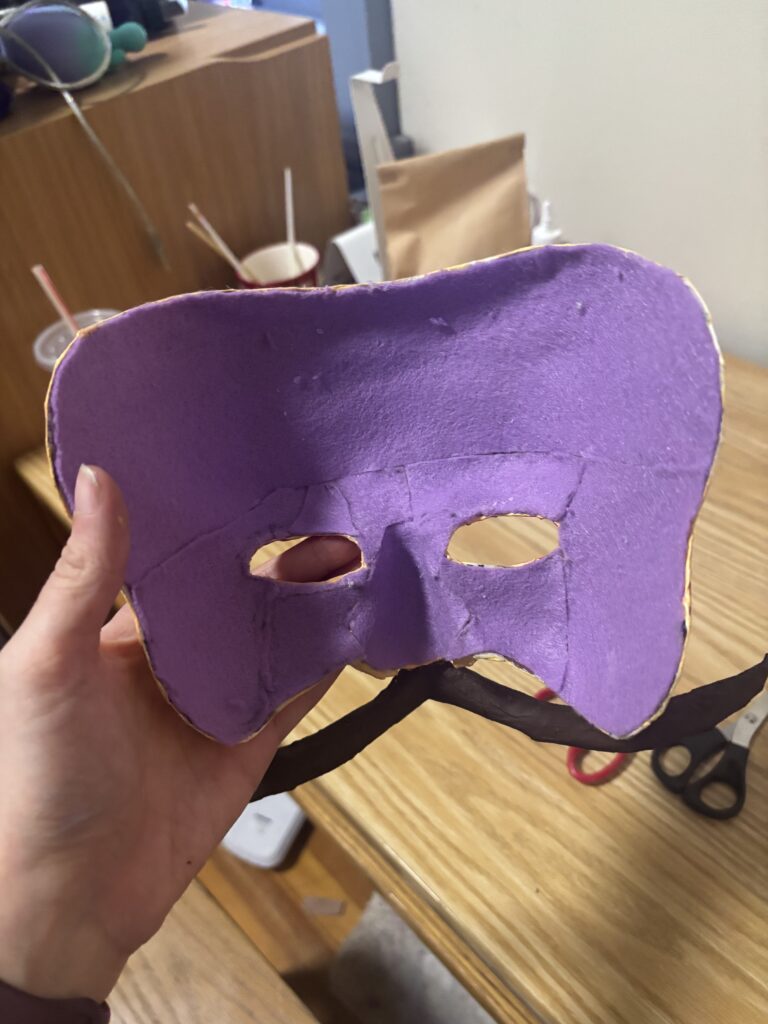
And added Sculpt-a-Coat to the mask itself. I purposefully didn’t add any to the mustache and eyebrows to give the “hair” a different finish.
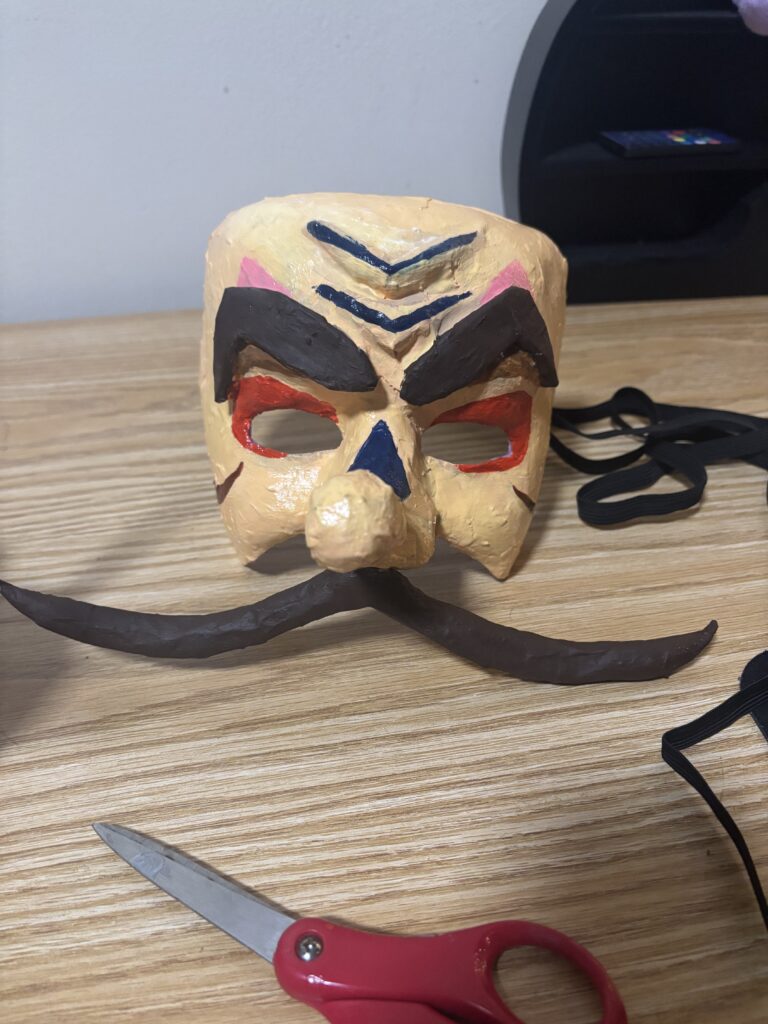
After attaching the elastic the mask was complete!
I feel I accomplished what I set out to accomplish to an extent. My goals were to made a mask with a long nose, a hard mustache, raised eyebrows, 3D forehead wrinkles, and cirque inspired designs painted on. I completed all of those tasks. I think the craftsmanship is awful, as it is bumpier than I would like. I had some struggles with painting and the final sculpt-a-coat layer transferring color to areas it shouldn’t be. It also is a little tall on my face, which was an intention of the design originally but I’m not sure if it was well executed. Overall, I set out to accomplish for the most part.